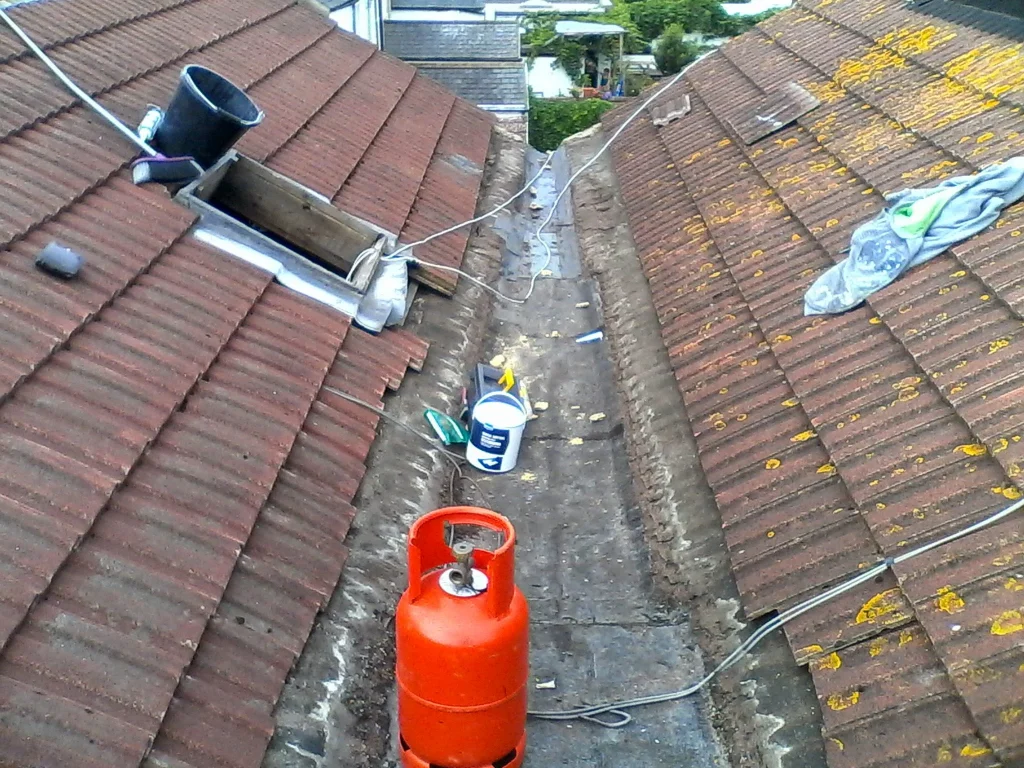
Repairing a roof leak properly starts before any felt, tile, slate or sealant is touched. The first job is to work out where the water is really entering, because the damp patch inside the house is often only the final place where water appears. On Sussex properties, especially around Brighton, Hove and Worthing, I regularly see leaks blamed on the nearest visible roof surface when the real cause is higher up, hidden behind flashing, trapped inside a parapet wall, or travelling along timber before dripping into the room.
A roof leak can be simple, but guessing is where expensive mistakes begin. A small repair can be enough when the defect is clear and localised. If the same roof has poor drainage, brittle felt, failing leadwork, rotten decking or soaked masonry, then a patch may only hide the problem until the next heavy rain.
Why roof leaks are often misdiagnosed
Water rarely travels in a straight line. It follows gravity, but it also follows battens, rafters, insulation, underlay, wall cavities and small gaps created by capillary action. That means the ceiling stain below is not always directly under the damaged area.
I have inspected roofs where the visible damp was in the middle of a bedroom ceiling, but the entry point was a cracked chimney flashing several feet away. I have also seen flat roofs blamed for leaks that were actually caused by porous brickwork above the roof line. This is why I treat leak repair as diagnosis first and repair second.
The first checks I make before repairing a roof leak
Before deciding how to repair the roof, I want to understand the pattern of the leak. The timing often tells me as much as the visible damage.
- After heavy rain only: this usually points toward an external roof defect, flashing failure, blocked drainage or wind-driven rain.
- After strong wind and rain together: I look closely at laps, tiles, slates, ridges, verge details and exposed wall junctions.
- During cold weather without obvious rain: condensation may be involved, especially on flat roofs and poorly ventilated lofts.
- Near a chimney breast: lead flashing, mortar joints, chimney pots and porous brickwork need checking.
- Near an outside wall: parapet walls, coping stones, gutters, downpipes and wall abutments may be the cause.
- Below a flat roof: I check outlets, ponding water, open seams, upstands, deck movement and condensation risk.
These checks prevent the common mistake of sealing the most obvious mark while leaving the real water entry point untouched.
Emergency repair versus permanent repair
There is a big difference between stopping water temporarily and repairing a roof leak properly. A temporary repair is sometimes necessary during bad weather. It may involve safe temporary weatherproofing, covering an exposed area, sealing a split, clearing an outlet or preventing water from entering until conditions allow a proper repair.
A permanent repair should deal with the cause. If lead flashing has failed, it needs correct dressing or renewal. If a flat roof outlet is blocked and badly detailed, it may need rebuilding. If slates are slipping because the fixings have failed, replacing one slate may not solve the wider problem.
If water is actively entering the property, an urgent roof leak inspection in Brighton and Sussex can help separate immediate weatherproofing from the longer-term repair needed.
Repairing leaks on flat roofs
Flat roof leaks need careful checking because water can sit on the surface and test every weak point. I usually inspect the roof in sections: the main membrane, laps, trims, outlets, wall junctions, upstands and any penetrations through the roof.
With older felt roofs, common leak points include cracked mineral felt, open laps, blisters, weak edges and splits around outlets. On modern SBS torch-on felt roofs, the material can last well, but only if the deck is sound and the detailing was done properly. Poor falls or ponding water can shorten the lifespan even when the felt itself is decent.
A flat roof repair may be enough when the defect is small and the surrounding membrane is still flexible. Replacement becomes more likely if the felt is brittle across the roof, the deck is soft, water sits for days, or several previous patches have already failed.
Repairing leaks on pitched roofs
On pitched roofs, I follow the water path from the highest possible point downward. Tiles and slates are designed to overlap and shed water. When that path is interrupted, water can get under the covering and travel along battens or underlay before appearing inside.
Common pitched roof leak causes include slipped slates, cracked tiles, failed ridge mortar, damaged valleys, blocked gutters, perished underlay and lead flashing fatigue around chimneys or abutments. On older Brighton terraced houses, I also look for nail sickness, where old slate fixings corrode and several slates start slipping over time.
A single broken tile is often a straightforward repair. Repeated slipped slates, sagging areas or failing underlay suggest the roof may need a wider assessment. For traditional roofs, especially on terraced properties, pitched roof repairs on Brighton terraced houses need to consider the age of the roof structure, not only the visible tile or slate.
Lead flashing is a common leak point
Lead flashing is one of the details I check very early during leak tracing. It is used where roofs meet walls, chimneys, dormers and other vertical surfaces. Good leadwork can last a long time, but it still moves with heat and cold. Over the years it can split, pull from the mortar joint, crack at corners or be damaged by poor previous repairs.
Surface sealant over failed lead is usually not a proper repair. It may slow water for a short time, but it rarely deals with the movement that caused the failure. Correct repair may involve re-dressing the lead, replacing a section, repointing the chase, or improving how the roof covering finishes into the wall.
Parapet walls and hidden moisture
In Brighton and Hove, parapet walls cause many leaks that are wrongly blamed on the flat roof below. A parapet wall is exposed to rain, wind and salt air on several faces. If the coping stones crack, the mortar fails or the wall has no proper capping, water can soak into the brickwork and travel down inside the wall.
The leak may then appear at ceiling level, often close to the party wall or edge of a rear extension. If only the flat roof surface is patched, the leak returns because the wall above is still absorbing water. Proper repair means identifying whether the roof covering, the wall, or the junction between them is failing.
Condensation can look like a roof leak
Not every damp ceiling means rainwater is entering from outside. Condensation can look very similar, especially below flat roofs or in loft spaces with poor ventilation. Warm moist air from inside the property rises, reaches a cold surface and turns into water droplets.
Condensation is more likely if damp appears during cold weather, affects a wider area, creates mould, or does not clearly follow rainfall. Repairing the outside roof covering will not solve condensation. The roof build-up, ventilation, insulation and vapour control need to be considered.
Why quick sealant repairs often fail
I understand why homeowners use roof sealant during a leak. When water is coming in, anything that might stop it feels worth trying. The problem is that sealant is often applied to the wrong place, over a wet surface, or across a moving joint that needs a proper roofing detail instead.
Sealant can fail because:
- the surface was damp or dirty when it was applied
- the joint moves too much for the sealant
- water is entering above the sealed area
- the roof membrane below is already brittle or loose
- the repair traps moisture underneath
- UV exposure and coastal weather break it down
Temporary sealant can sometimes buy time, but it should not be treated as a proper repair for failed flashing, rotten decking, open felt laps or cracked roof details.
Warning signs that a leak is more serious
Some leaks are small and local. Others suggest the roof has been wet for a long time. I would take the problem more seriously if I saw:
- brown staining spreading after each rainfall
- soft plaster or bubbling paint
- mould close to a ceiling edge
- timber smell or damp insulation in the loft
- soft decking on a flat roof
- repeated patches in several places
- water entering around electrics or light fittings
- rotting fascia or soffit boards below the roof edge
- cracked lead flashing or open mortar joints above the leak
Water around electrics should be treated carefully. The roof repair matters, but the internal safety risk should not be ignored.
How I decide whether repair is enough
I usually consider a repair suitable when the roof is mostly sound and the defect has a clear cause. For example, one damaged tile, one split in a felt lap, one blocked outlet or one short length of failed flashing may be repairable without replacing a larger roof area.
I become more cautious when the leak is part of a wider pattern. If a flat roof has brittle felt, standing water and soft boards, repairing one split will not restore the roof. If a pitched roof has several slipped slates caused by failing fixings, replacing one slate may only solve today’s leak.
The honest answer depends on the condition of the whole roof, not just the visible hole or damp mark.
What a proper roof leak repair should achieve
A good repair should do more than stop the next drip. It should restore the roof detail so water is moved away correctly. On a flat roof, that may mean rebuilding an outlet, renewing an edge, sealing a compatible felt repair, correcting an upstand or improving drainage. On a pitched roof, it may mean replacing damaged coverings, renewing leadwork, clearing valleys or correcting failed mortar details.
The best repairs are usually neat and specific. They do not rely on covering everything with thick sealant. They deal with the weakness that let water in.
My practical advice before repairing a roof leak
If you notice a leak, make notes before the roof is inspected. When did it appear? Was it after heavy rain, wind, or cold weather? Is the damp getting bigger? Is it close to a chimney, wall, flat roof edge, valley or gutter? These details help trace the source faster.
For Sussex homes, I always pay close attention to wind exposure, old brickwork, lead flashing, parapet walls, blocked drainage and condensation. Those are the details that often decide whether repairing a roof leak is simple or whether a deeper roofing issue needs dealing with.
A quick online calculator can help with rough cost expectations in around 30 seconds, but leak repair should still begin with diagnosis. The cheapest patch is not good value if water keeps entering from the same hidden fault.